Automating paid access on a WordPress site can save hours of manual work and give customers instant access to premium content. This step-by-step tutorial walks through a complete, no-code setup that accepts payments, creates users, and unlocks protected content automatically using BitForm, Flowmattic, and SureMembers.
Step 1: Install the required plugins
Start with a fresh WordPress install and add three plugins: BitForm (form builder), Flowmattic (automation/workflows), and SureMembers (membership and content protection). Activate each plugin and enter your license keys. Using Pro versions gives access to more integrations and features.
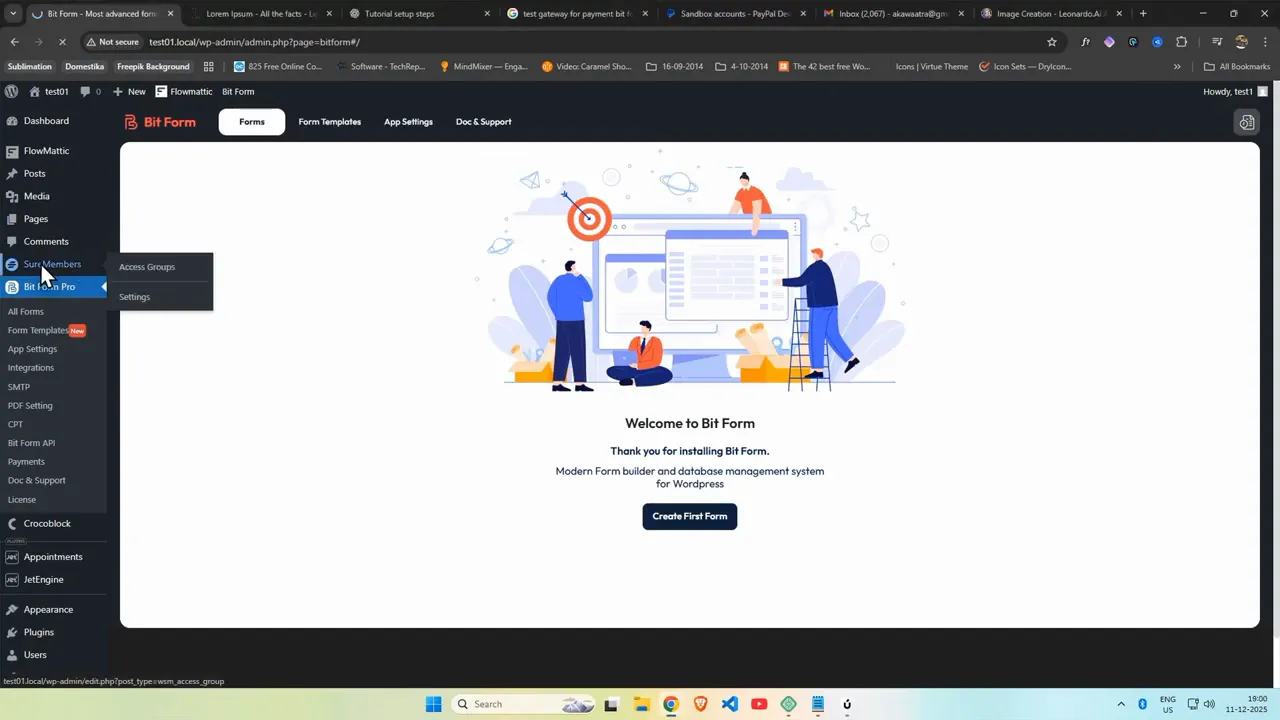
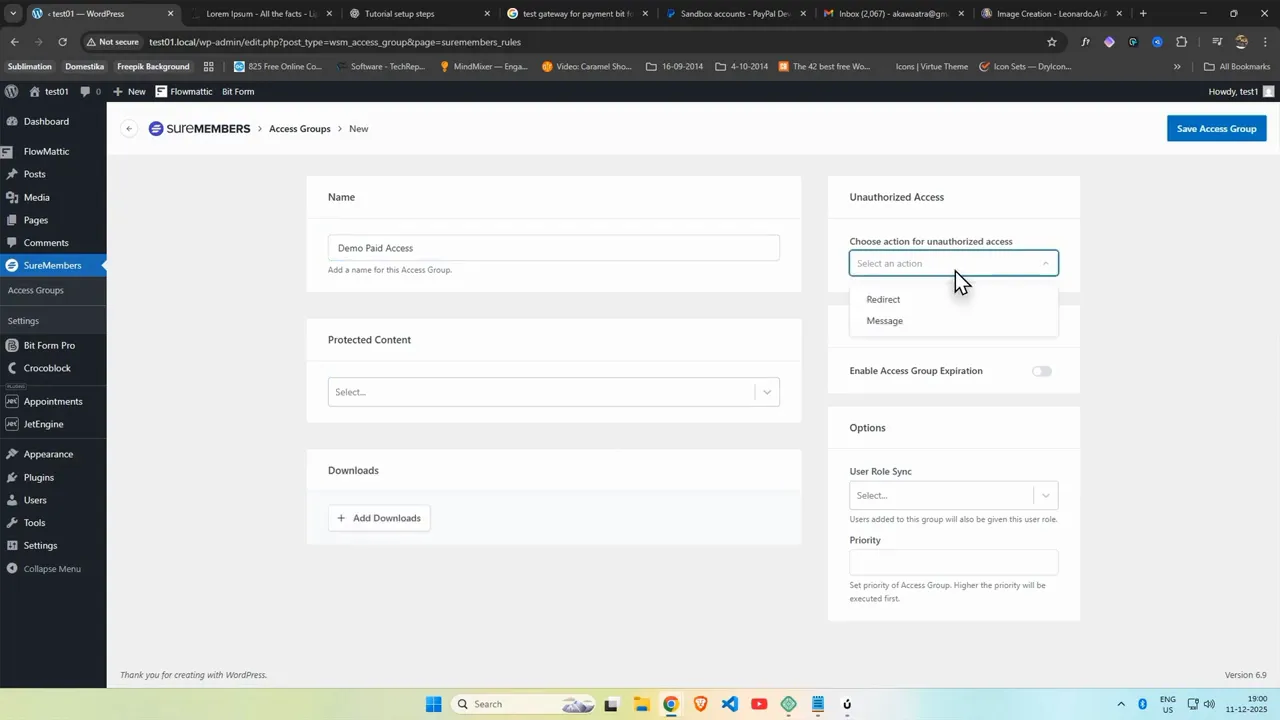
Step 2: Create an access group in SureMembers
Inside SureMembers, create an access group that will represent the paid membership. Name it something descriptive like Demo Paid Access. Enable the message & redirect option so non-members are sent to your payment/membership page when they try to access protected content. You will need to supply the URL of the membership page — create that page shortly and ensure the slug matches exactly.
How to Automate Paid Content Access in WordPress with BitForm, Flowmatic, and SureMembers
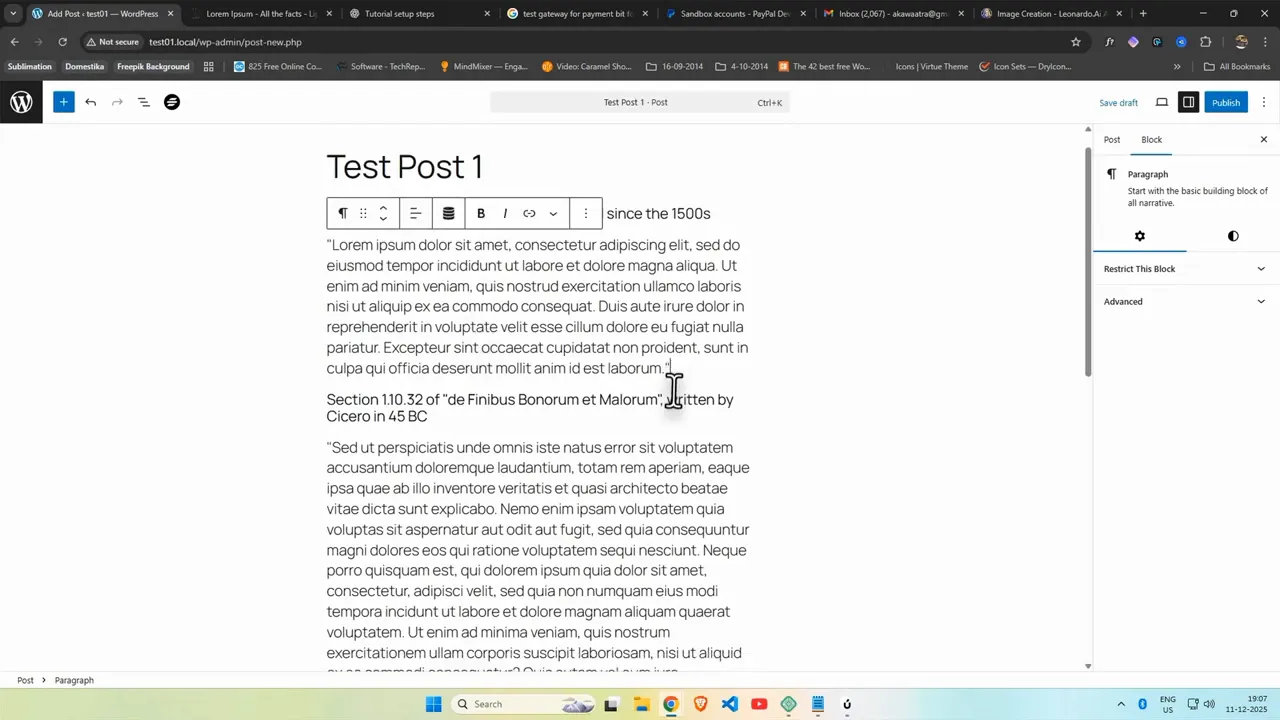
Step 3: Create and protect content
Publish the content you want to protect. You can create multiple posts or pages — some public and others restricted to members only. In the block editor, use the right-hand panel to set the access group for any content you want protected. Toggle the restriction on for protected blocks so only group members can see them.
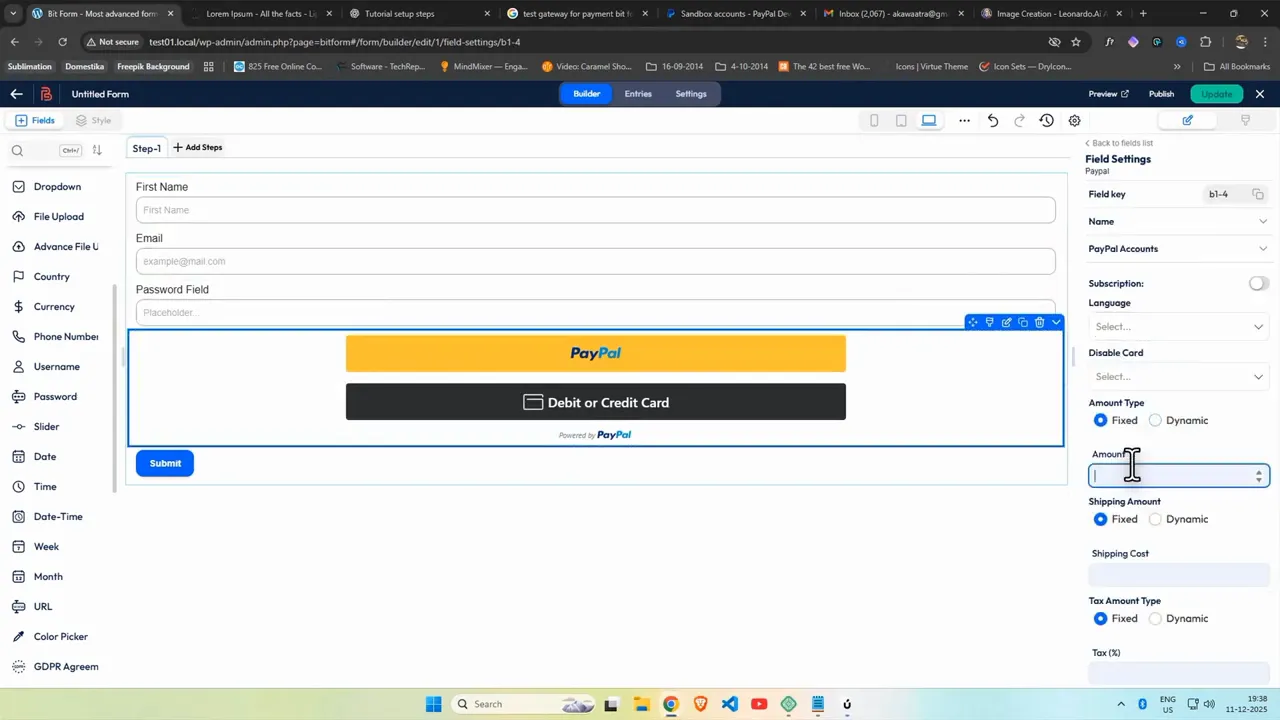
Step 4: Build a BitForm payment form
Open BitForm and create a new form from a blank template. Add fields you need such as first name, email, and a payment field. If you want to use a password supplied by the user, add a password field — otherwise you can auto-generate a password later when creating the WordPress user.
Set the payment amount (for example, $100) in the PayPal settings. For testing, enable PayPal test mode so you can submit dummy payments without charging real cards. If you prefer, you can use a simple form (non-payment) during setup and testing, then swap in the payment field later.
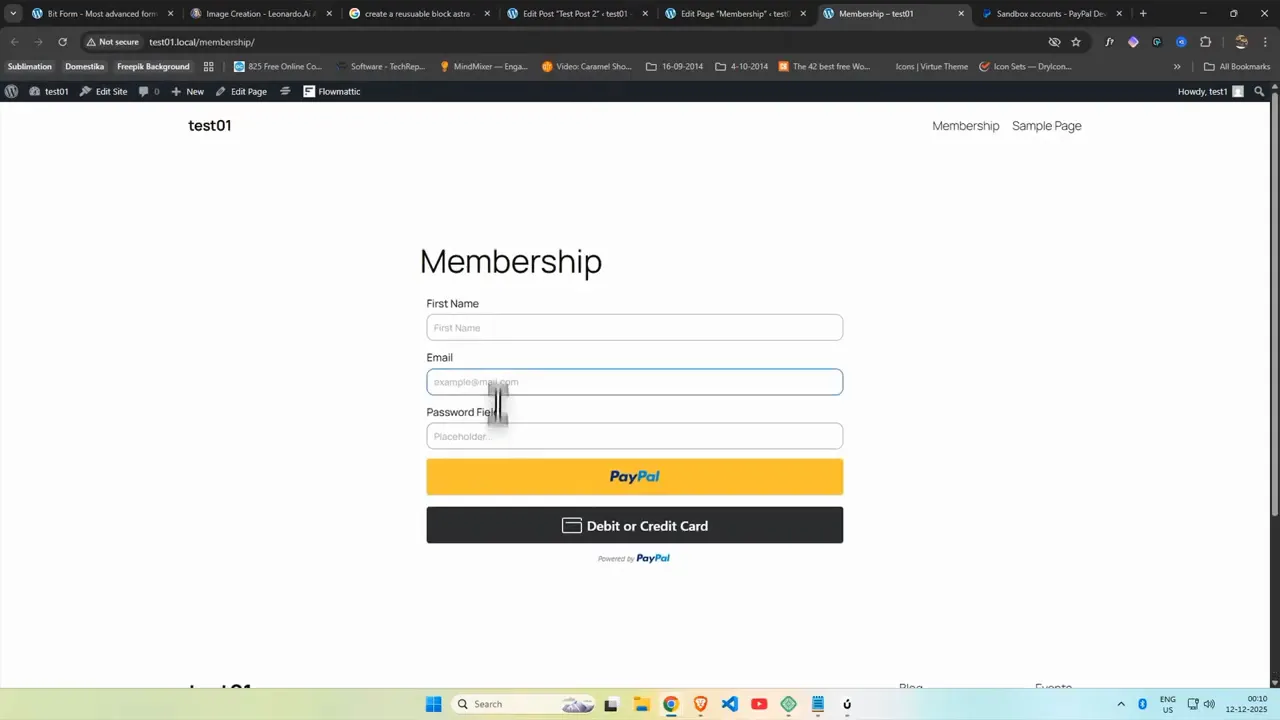
Step 5: Place the form on a membership page
Copy the BitForm shortcode and paste it into the membership page you created earlier. This page is where non-members will be redirected to purchase access. Verify the form loads correctly on the front end before connecting the automation.
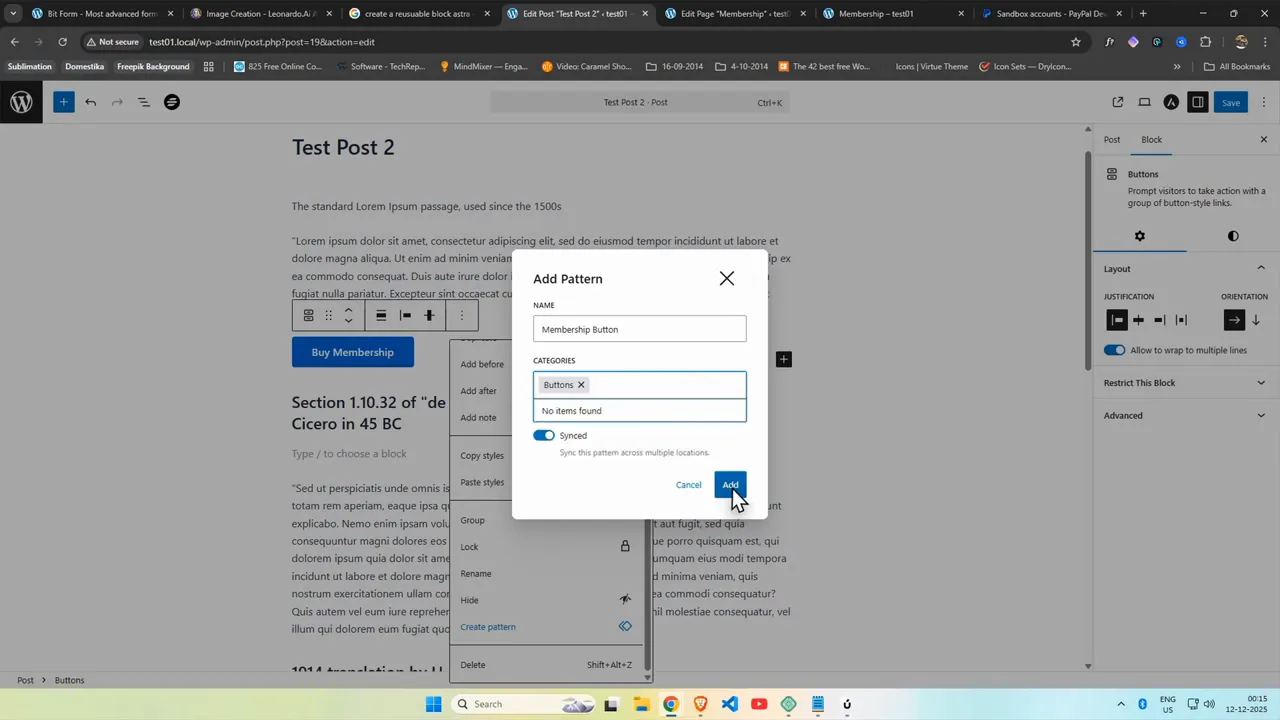
Step 6: Add a clear call-to-action on protected posts
On protected posts, add a button that redirects non-members to the membership/payment page. Make that button a reusable pattern so you can insert it across many posts quickly. Place a short message near the button explaining what the visitor will get after signing up.
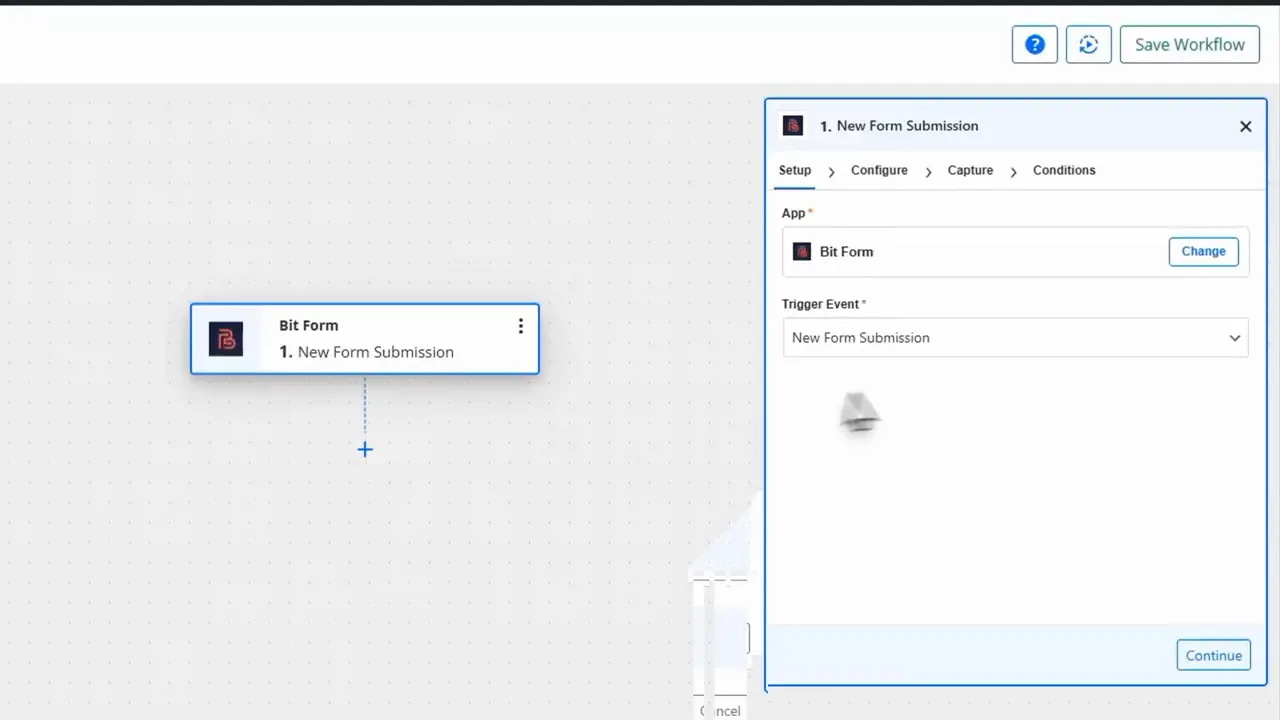
Step 7: Create the Flowmattic trigger (new form submission)
Now automate the process. In Flowmattic, install the BitForm integration and create a new flow. Choose the trigger New Form Submission. Flowmatic will provide a webhook URL where BitForm sends form data. Use the capture tab to verify Flowmattic receives the submitted form data by submitting a test entry from the membership page.
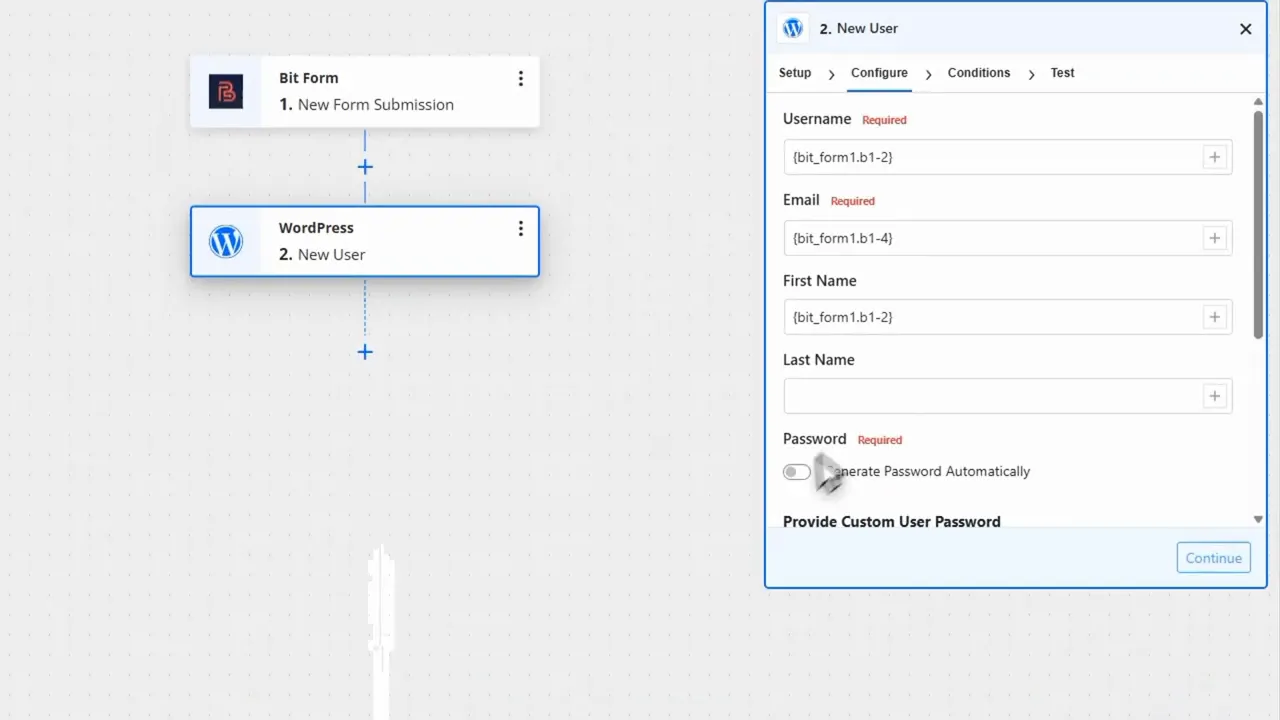
Step 8: Auto-create a WordPress user from the form
Add an action to the flow to Create a WordPress user. Map the form fields to WordPress user fields: username, first name, email, and password. You can:
- Use the submitted password field from the form, or
- Auto-generate a secure password in Flowmatic and email it to the user.
Choose an appropriate user role (for example, Subscriber) or use a custom role created for your members. Run the flow test to ensure a user record is created successfully in WordPress.
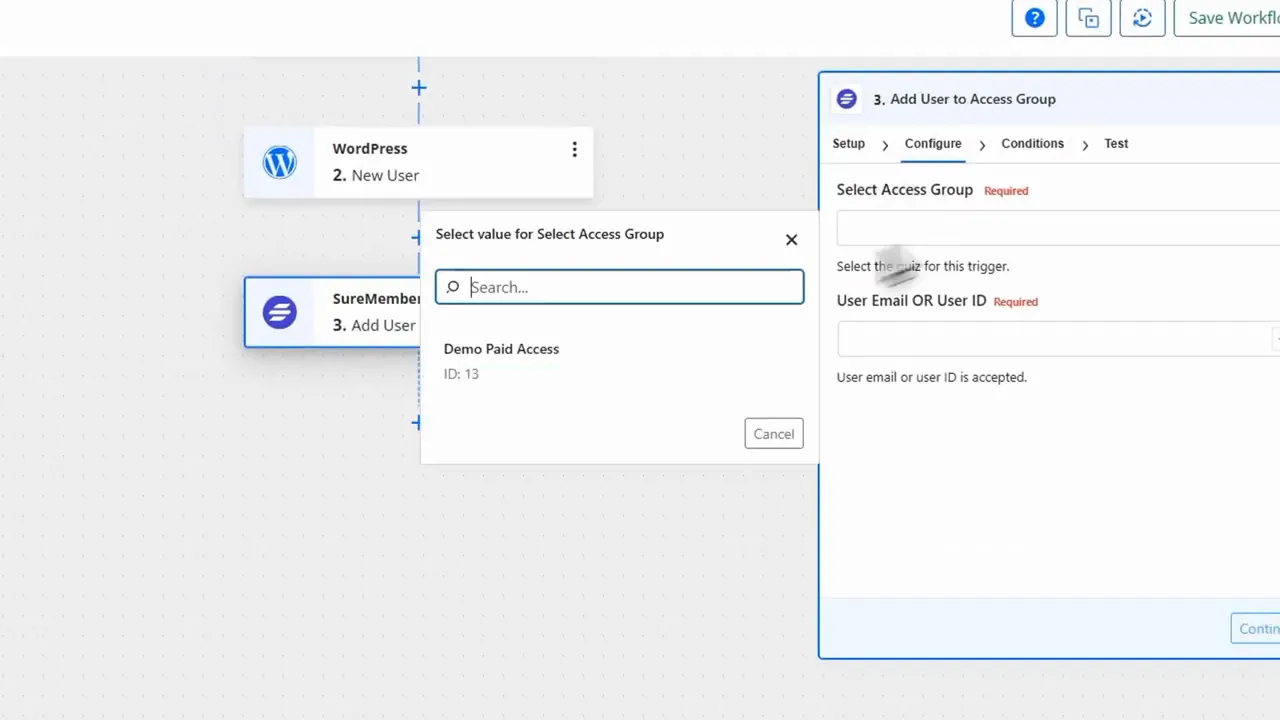
Step 9: Add the user to the SureMembers access group
Install the SureMembers integration in Flowmatic and add another action: Add user to access group. Map the same email or user identifier so Flowmatic knows which user to add. Select the access group you created earlier (Demo Paid Access). Test the flow — Flowmattic should report success and show the user was added to the access group.
Step 10: Activate the workflow and verify access
Activate the flow under Flowmattic workflows. To confirm everything works end to end:
- Open an incognito window.
- Submit the BitForm (or complete the test payment) on the membership page.
- Log in as the newly-created user and visit a protected post.
If configured correctly, the protected content will now be visible to that user. The whole process — payment or form submission, user creation, and access granting — is handled automatically.

Tip: Use test mode for payment gateways while configuring everything. Also double-check page slugs and redirect URLs so users land on the correct membership page after being redirected.
Common pitfalls and best practices
- Field mapping: Verify BitForm field IDs when mapping to WordPress fields in Flowmatic to avoid mismatches.
- Notifications: Decide whether to send registration emails to users or admins and test the notification flow.
- Payment testing: Enable sandbox/test mode on payment gateways to avoid real charges during setup.
- Reusable CTA: Create a button pattern for redirect CTAs so you can add purchase links across many posts quickly.
- Roles and permissions: Ensure the user role you assign has the correct capabilities to view protected content but not to edit content.
Who this is best for
This automated setup is ideal for:
- Course creators and LMS owners
- Membership site operators
- Freelancers building membership systems for clients
- Anyone selling tutorials, digital downloads, or gated content
With BitForm, Flowmattic, and SureMembers working together you get a smooth, fully automated membership workflow: collect payment, create user accounts, and unlock content instantly without manual intervention.
Implement the steps above and you’ll have a production-ready paid-access system on WordPress that scales with your audience and keeps access control consistent and reliable.

