
Connecting two content types is one of those tasks that feels simple until you actually build it. Agents and properties, teachers and courses, or doctors and clinics — the pattern is the same: you want one side to know about the other automatically. This guide walks through a clean, code-free way to create bidirectional relationships using ACPT (Advanced Custom Post Types) and Bricks Builder so related content stays in sync and displays correctly on the front end.
Step 1: Plan the relationship
Start by clarifying the relationship model. For a real estate setup the rule is simple:
- One agent can manage many properties.
- Each property belongs to only one agent.
The goal is that when you assign a property to an agent from either side, WordPress will automatically keep both sides in sync. That avoids duplicated fields, manual linking, and messy queries later.

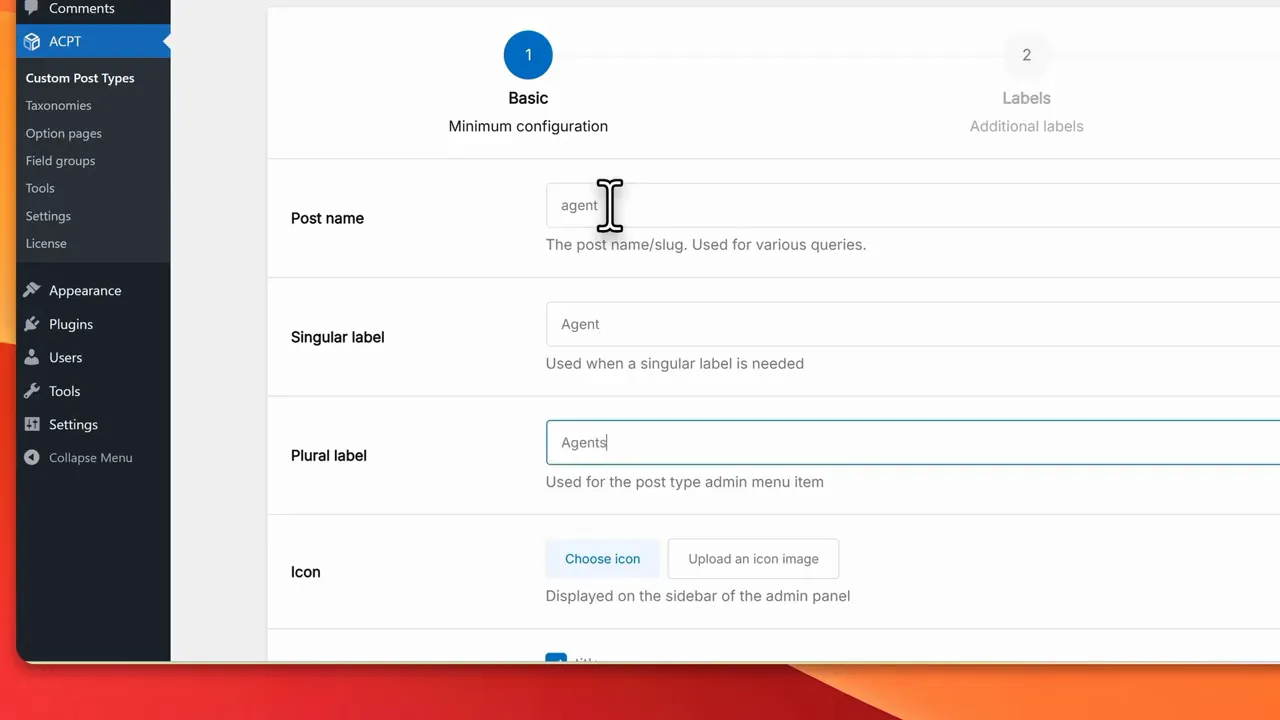
Step 2: Create the Agents custom post type
In ACPT, go to Post Types and add a new post type. Keep the setup minimal to focus on relationships:
- Singular: agent
- Plural: agents
- Slug: agent
- Enable Title (for agent name) and Featured Image (agent photo)
Save the post type. You can add contact details or other fields later — they do not change the relationship logic.
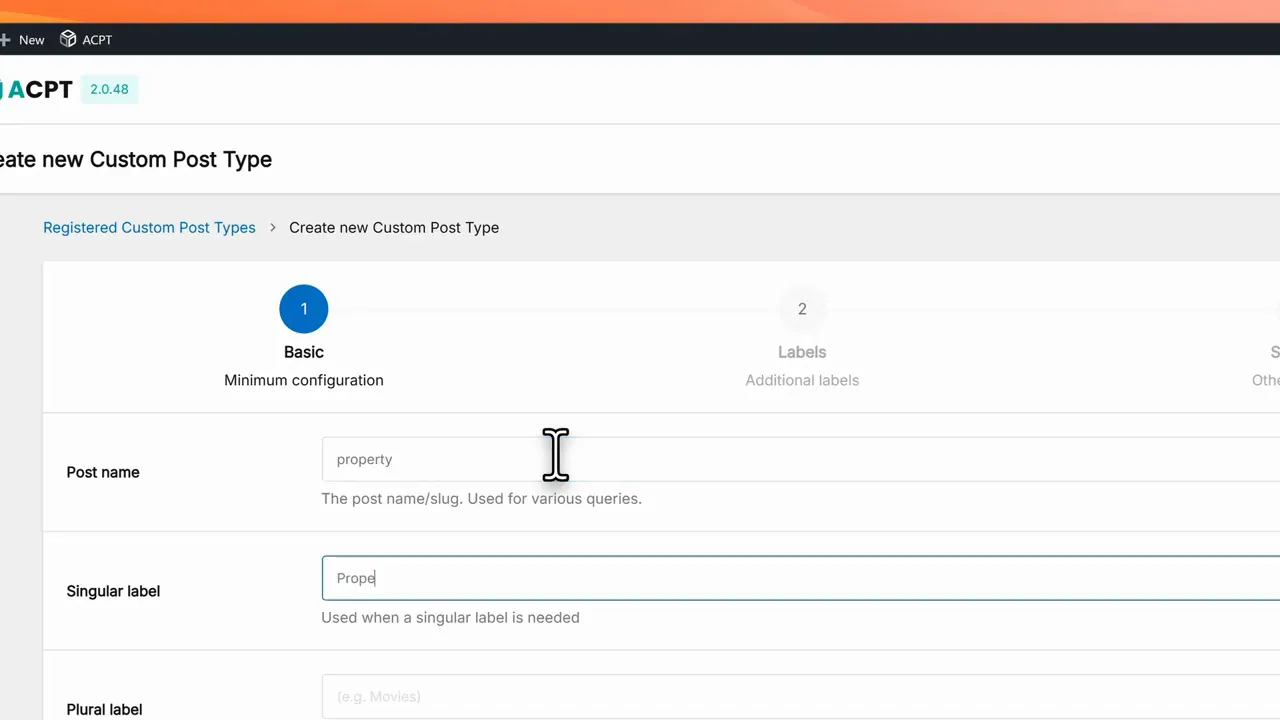
Step 3: Create the Properties custom post type
Repeat the process for properties:
- Singular: property
- Plural: properties
- Slug: property
- Enable Title and Featured Image
Typical property fields like price, location, or size are just additional fields and do not affect the relationship mechanism we are building.
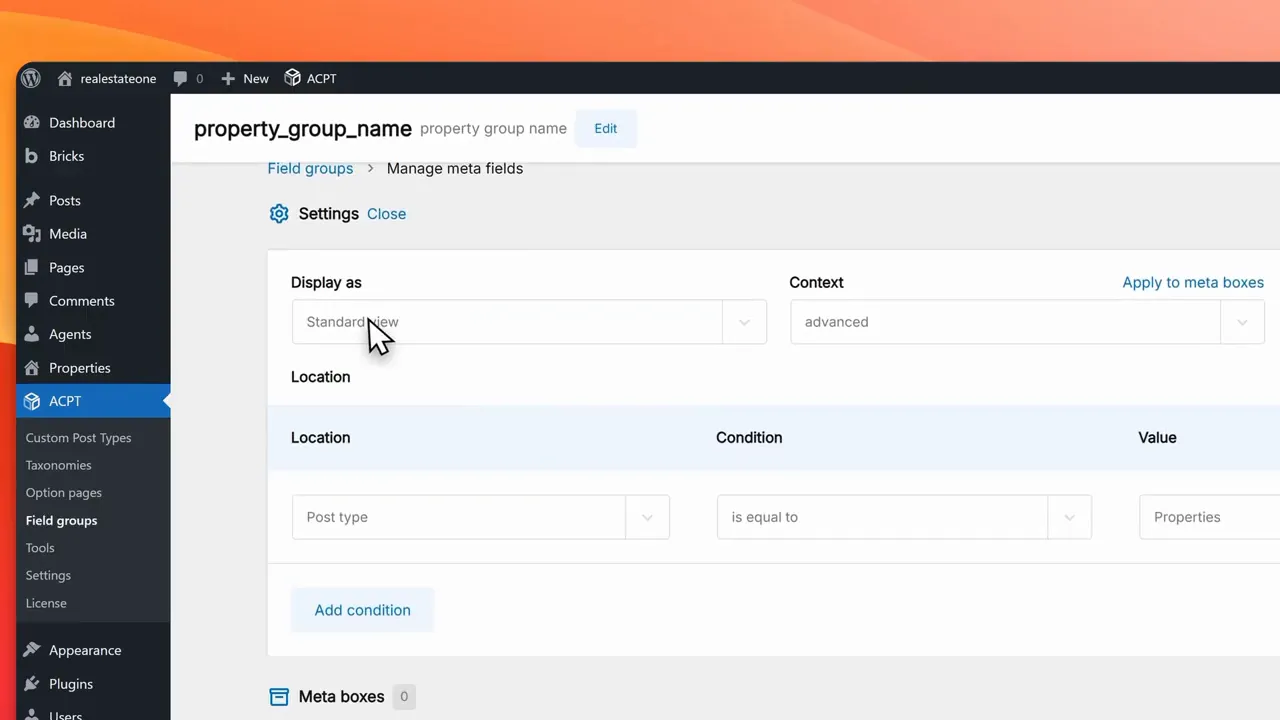
Step 4: Configure the bidirectional relationship in ACPT
This is the most important step. You will create two field groups and connect them using a relations field with directional settings.
- Create a field group for Properties. Add a simple text or relation placeholder field and name it agent assigned. This field will represent the agent tied to a property.
- Create a field group for Agents. Add a new field named properties assigned and set the field type to relations.
- In the relations field, select inter-directional or the option ACPT offers to connect fields across post types. Configure it as one to many: from post type agent to post type property.
- Select the agent assigned field from the Properties CPT as the connected field so ACPT knows which field to sync from the other side.
- Save the relationship.
The key idea: when you connect a property to an agent from one side, ACPT updates the other side automatically so both remain synchronized.
Step 5: Add sample content to validate the relationship
Add a couple of agents (for example, Agent One and Agent Two) and then create several properties. When editing a property you will now see the relationship field where you can assign an agent.
Assign multiple properties to the same agent. Then open the agent post and confirm that ACPT lists the connected properties. If the connections show up on both sides, the bidirectional link is working.
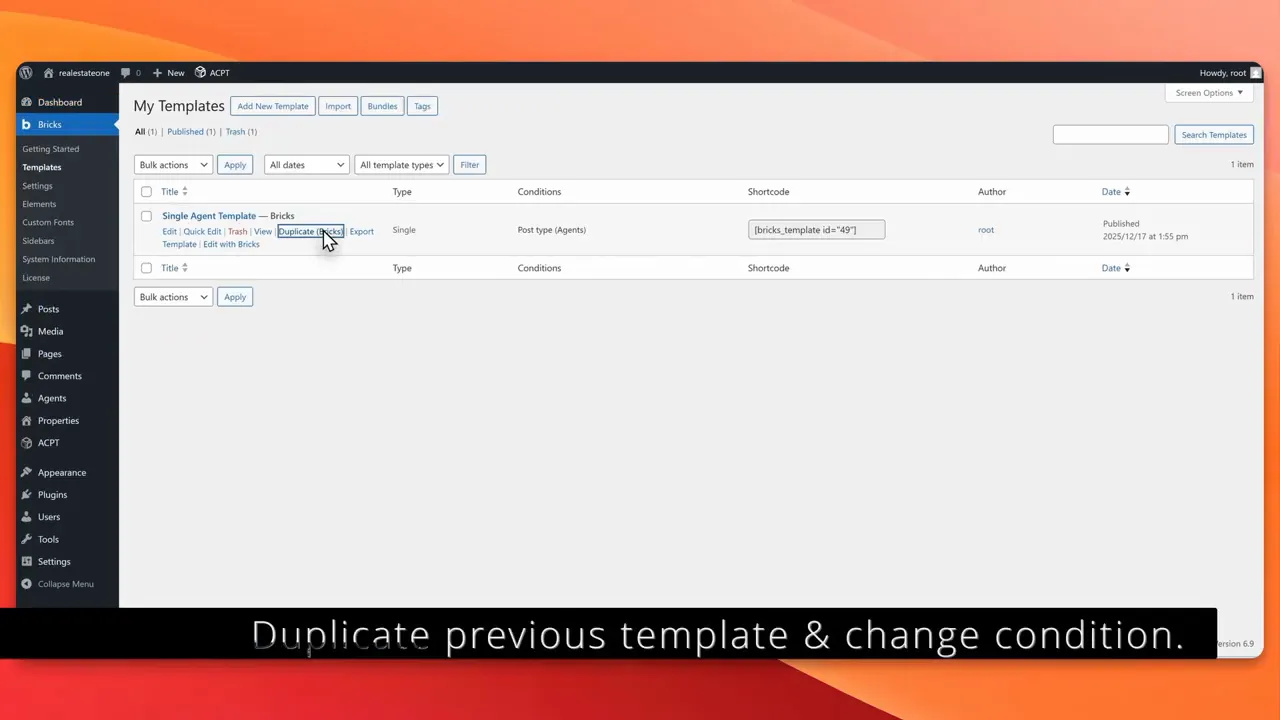
Step 6: Display related content with Bricks Builder — Agent single template
Now cross check those relationships on the front end using Bricks. Create a single template for the Agents post type.
- Create a new single template and set the template post type to agents.
- Add a heading element and bind it to dynamic data post title so the agent name appears.
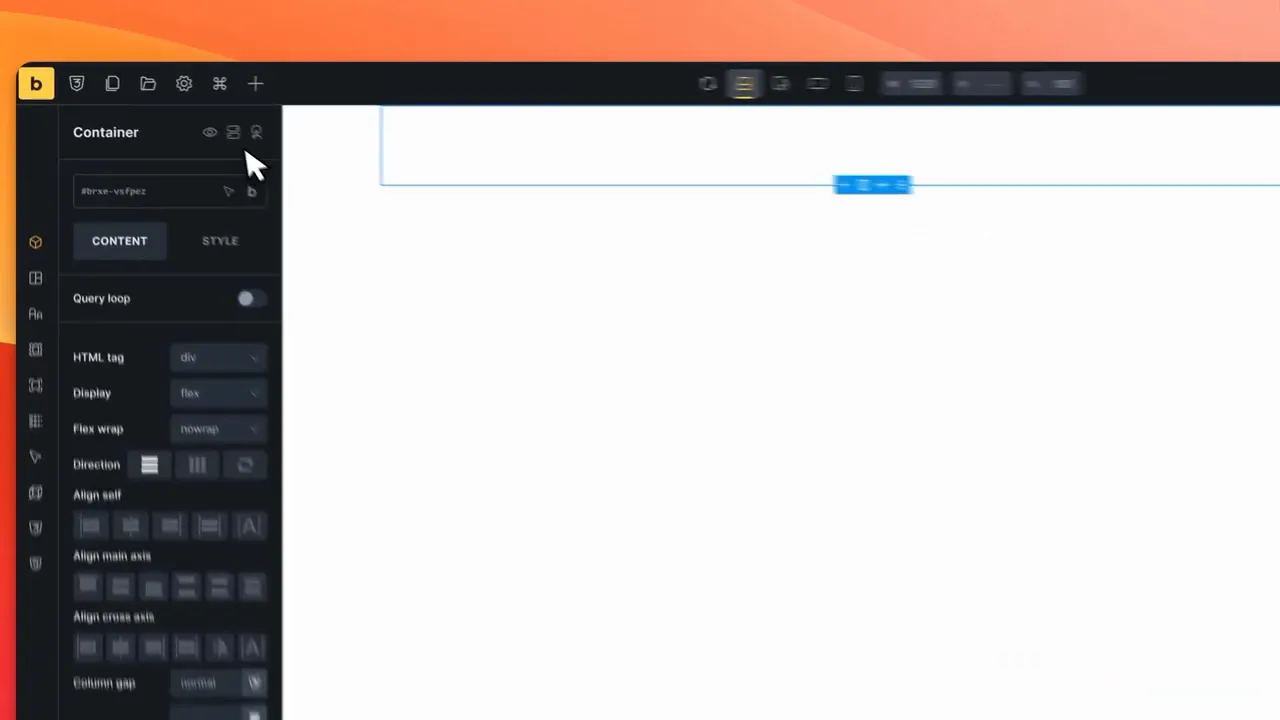
- Below the heading add a block that will be used to list properties. Inside the block add a heading and an image to represent each property.
- Enable Query Loop on the block. Instead of picking a global post type, choose the dynamic option for the relationship field and select property assigned (the properties assigned to this agent).
The Query Loop will now output only the properties connected to the currently viewed agent. No conditional logic or custom queries required.
Step 7: Display the assigned agent on property pages
Repeat the template setup for Properties so each property page can show its agent.
- Create a single template for the Properties post type.
- Use dynamic data and select the relationship field agent assigned.
- Place a small block or heading to output the agent name and any agent meta like photo or contact details via dynamic fields.
That completes the two-way data flow: properties know their agent and agents list their properties automatically.
Step 8: Tips, best practices, and next steps
- Keep relationships normalized — store links in relation fields only and avoid duplicating the same reference across multiple fields.
- Plan cardinality before building: one-to-one, one-to-many, or many-to-many. ACPT handles common patterns easily.
- Use meaningful field names such as agent_assigned and properties_assigned so templates and queries remain clear.
- Test with sample content to confirm that bidirectional syncing works before adding large amounts of data.
- Extend gradually — once the relationship is stable, add property meta like price and location and surface them in Bricks templates.
Structured relationships let you build dynamic, reliable content connections without custom code.
Frequently Asked Questions
Do I need JetEngine or ACF to create bidirectional relationships?
No. ACPT provides built-in relation fields that support bidirectional links. Combined with Bricks Builder dynamic data and query loop, you can build relationship-driven templates without JetEngine, ACF, or custom PHP.
Can I change the relationship later from one-to-many to many-to-many?
Yes. Update the relations field settings in ACPT and test with sample content. Keep in mind that changing cardinality may require adjusting templates and expectations for how many items appear where.
Will the relationship work if I assign items from only one side?
Yes. The relation sync keeps both sides updated. Assigning from the property side will automatically show that property in the corresponding agent’s related items, and vice versa.
Is custom PHP ever necessary for complex relationships?
For most standard use cases, ACPT plus Bricks cover everything. Custom PHP may be required for very specialized queries or performance optimizations, but start with the no-code approach first.
Can I use the same pattern for other scenarios like teachers and courses?
Absolutely. The pattern is reusable: choose your two post types and define the correct cardinality, then set up ACPT relation fields and Bricks templates the same way.